Understanding GitHub Pages and Jekyll for Web Publishing
GitHub Pages offers a fantastic, free way to host static websites directly from a GitHub repository. For many, especially developers, marketers, and technical writers, it’s a go-to platform for personal blogs, project documentation, and even portfolios. The magic behind many GitHub Pages sites, particularly those with dynamic content generation and a clean, structured layout, often lies with Jekyll.
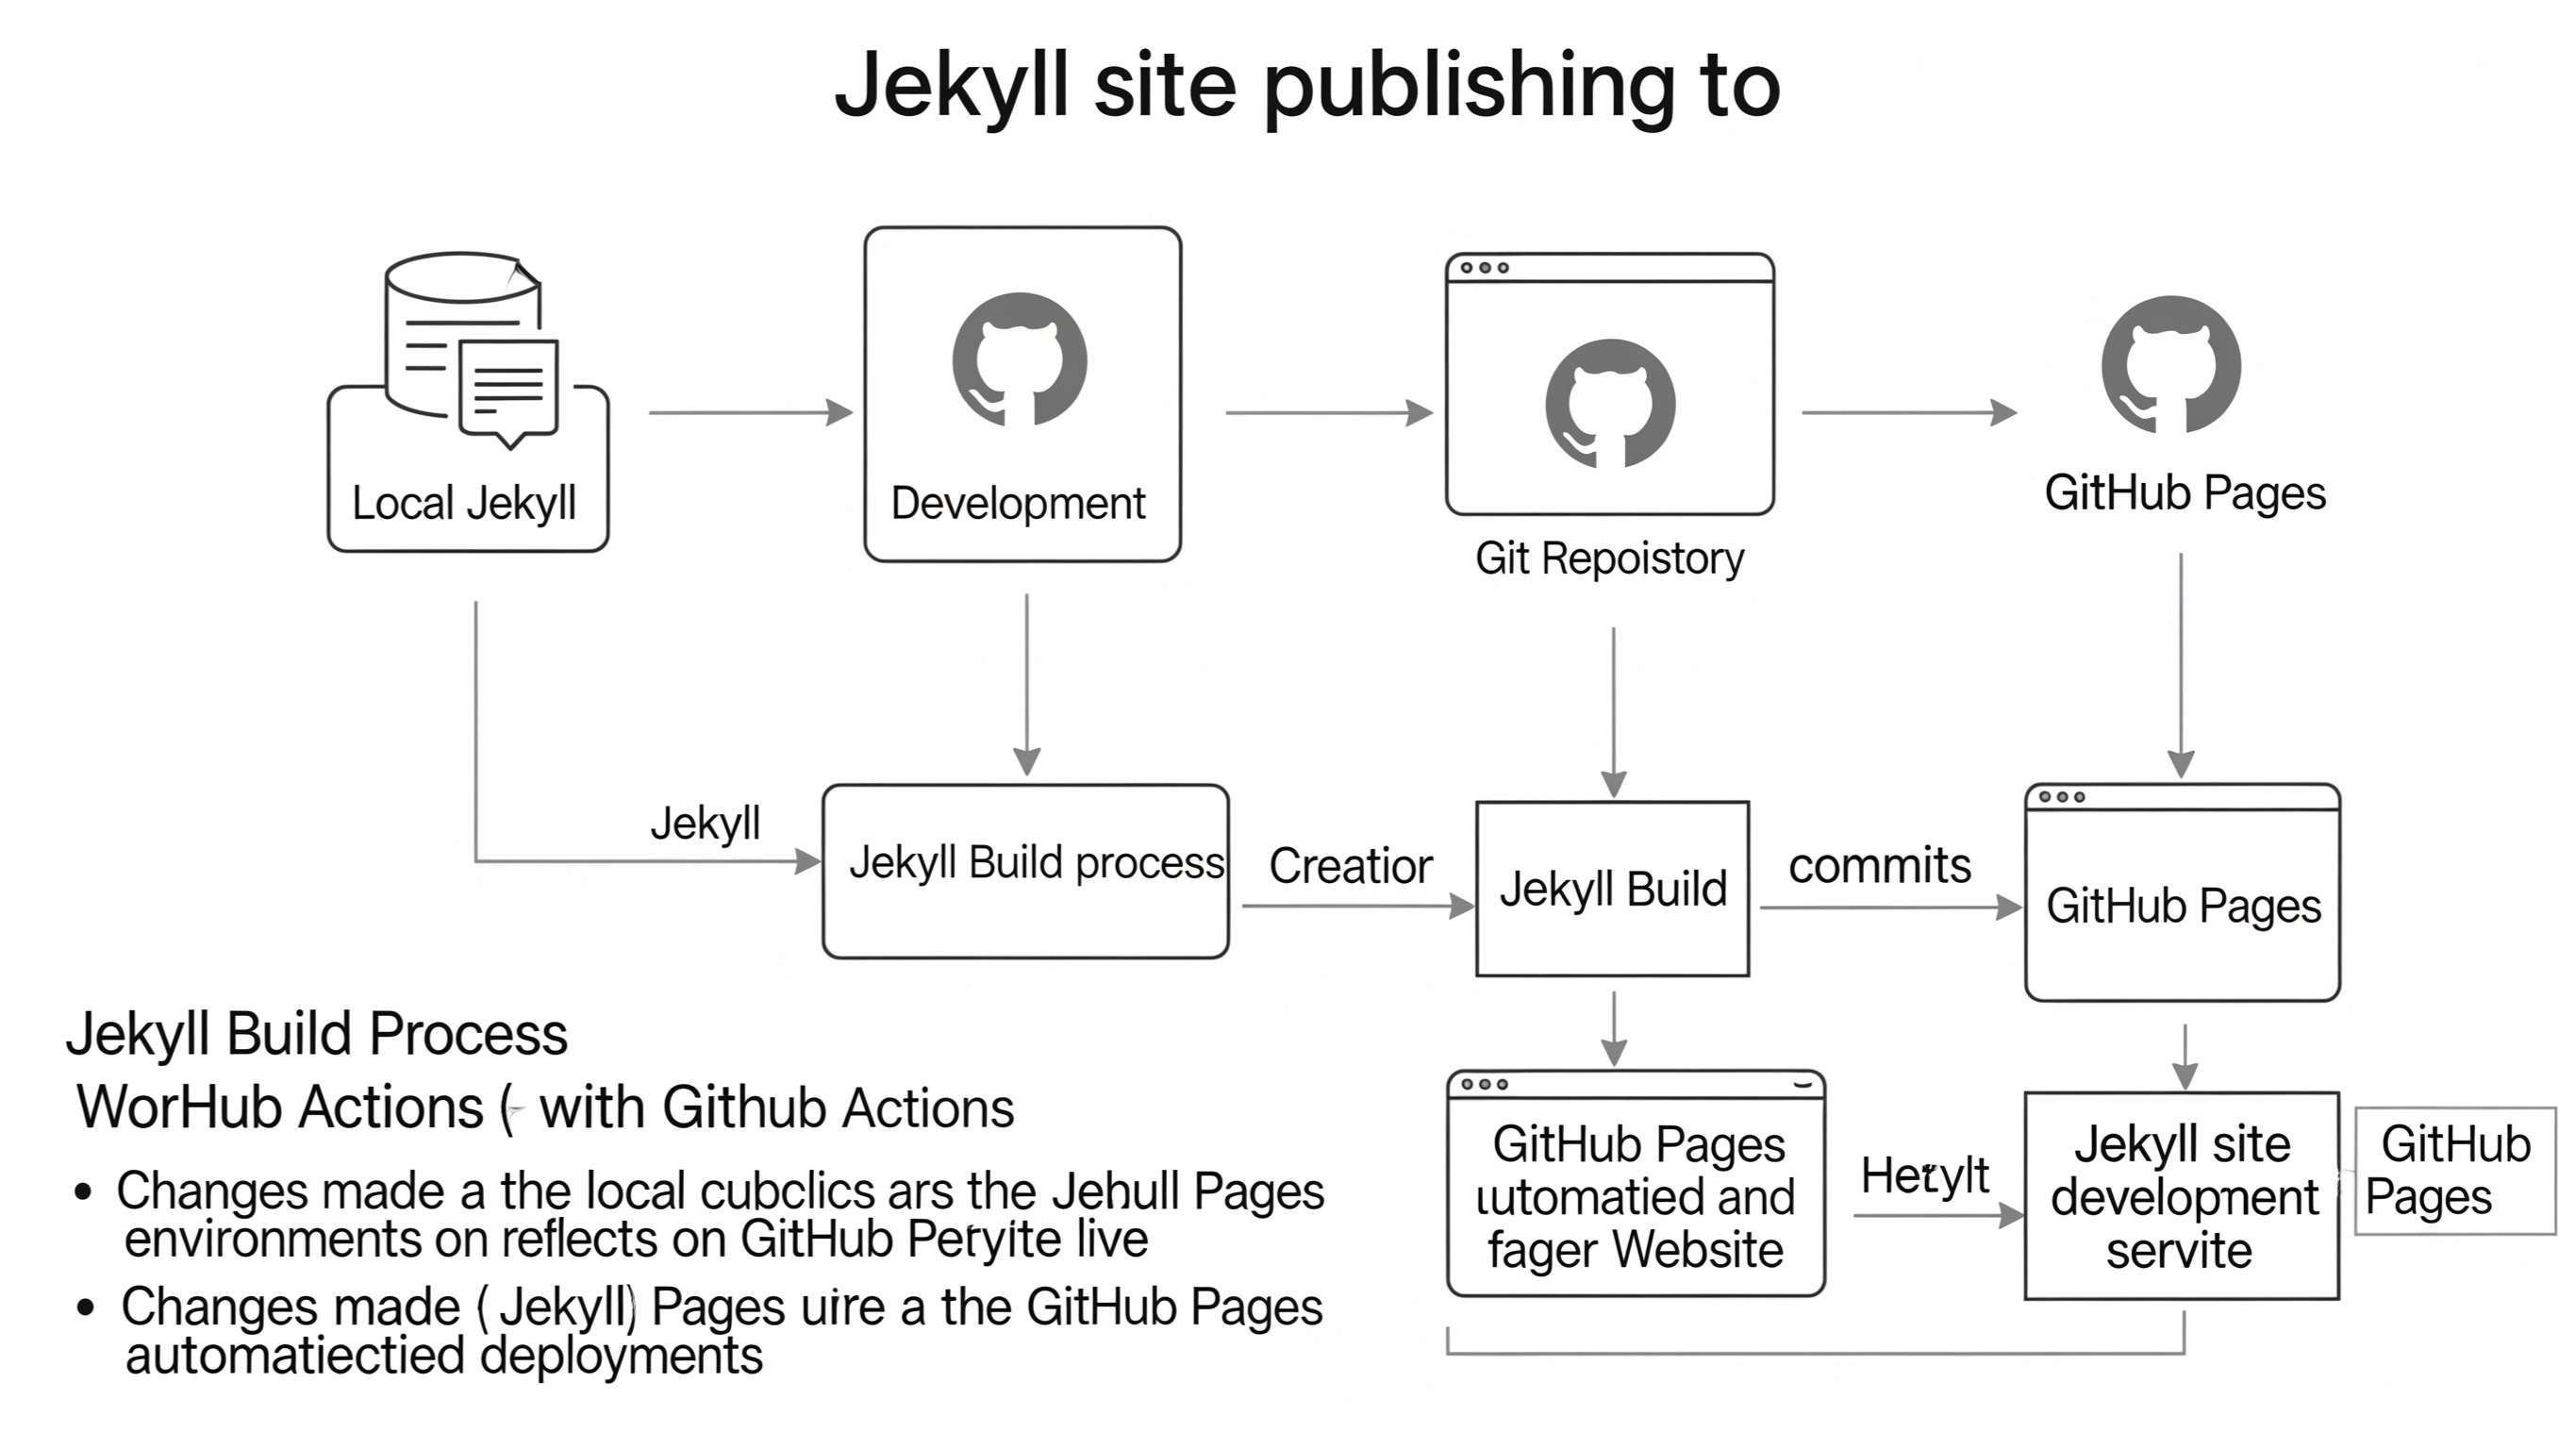
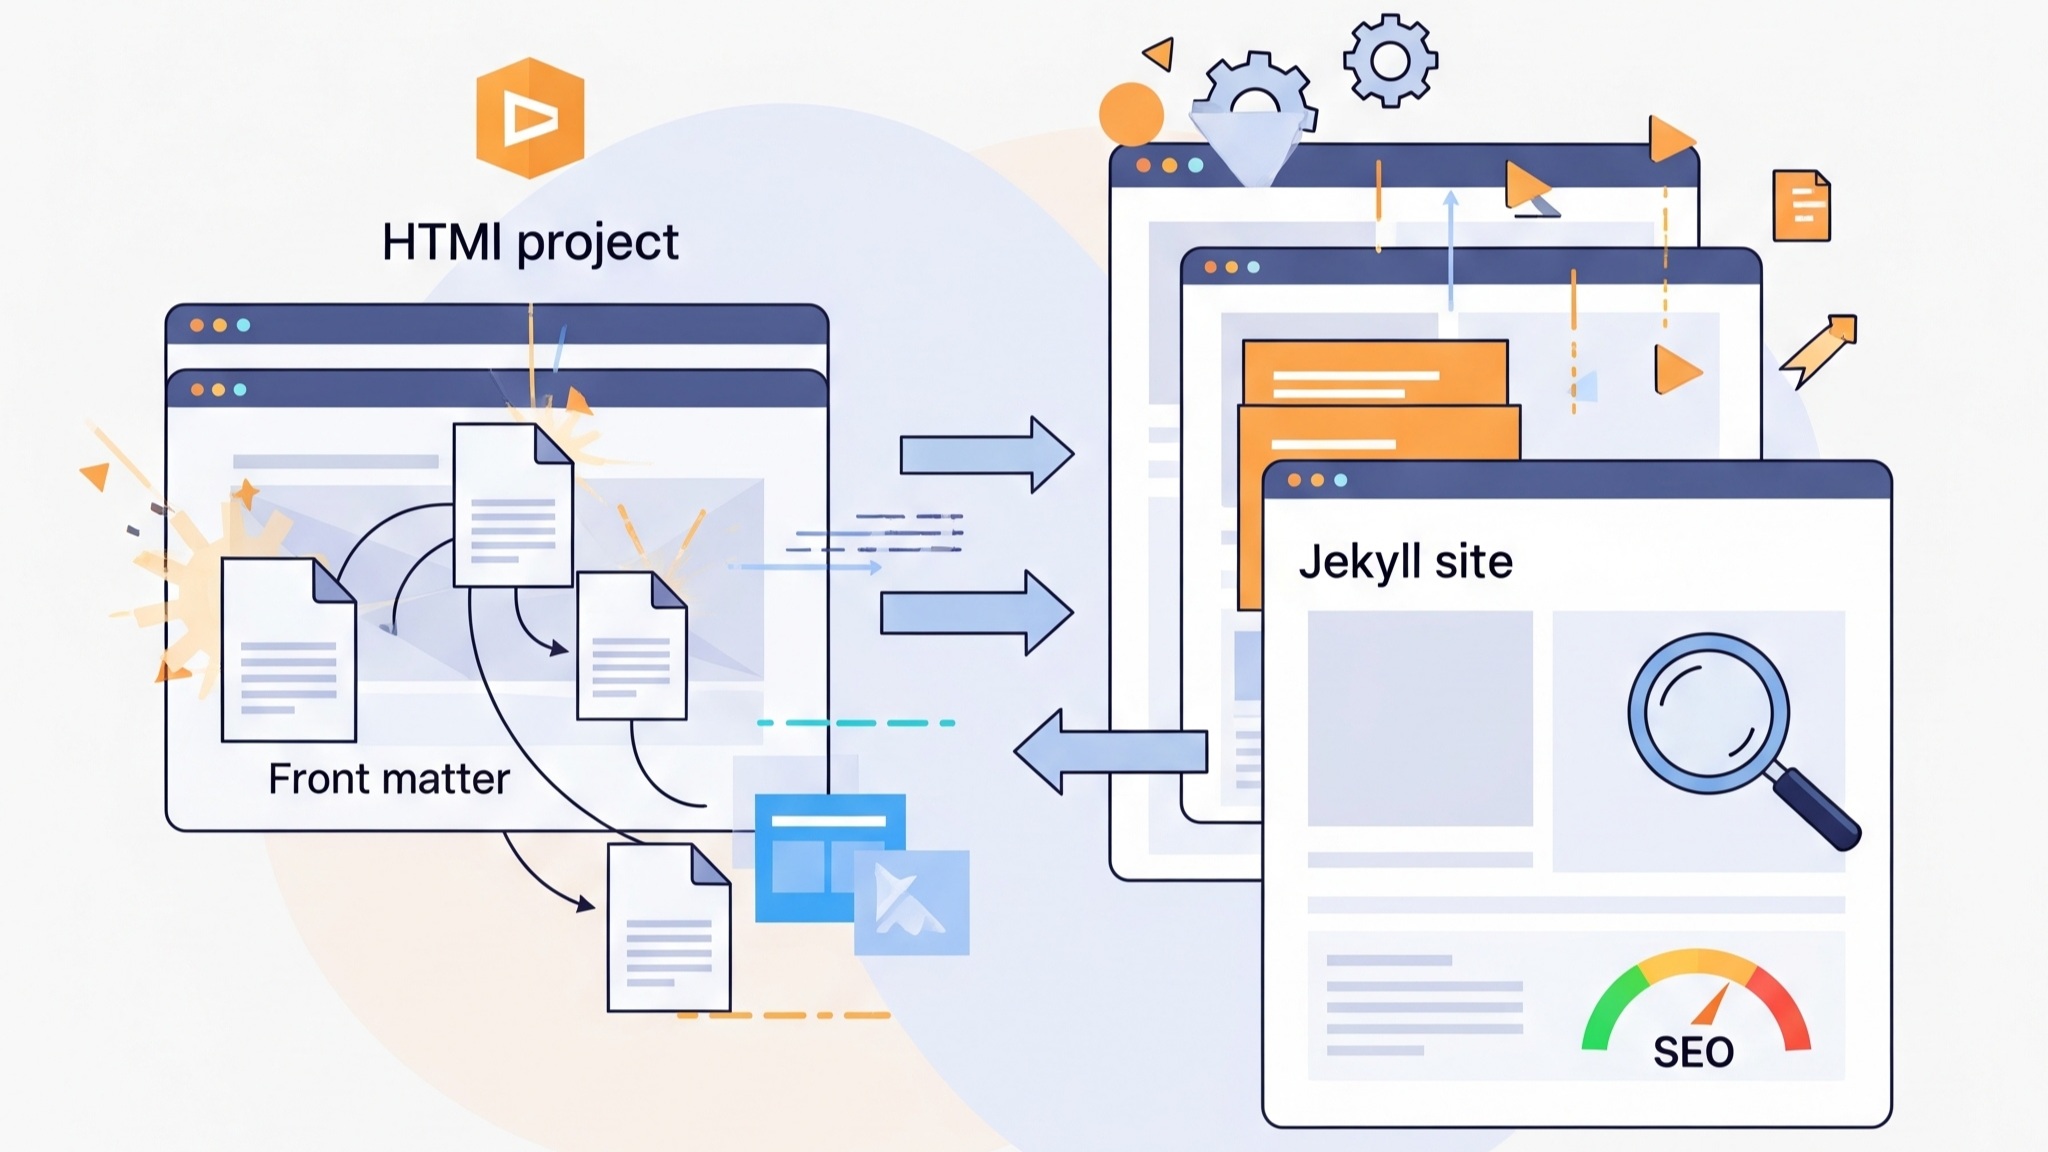
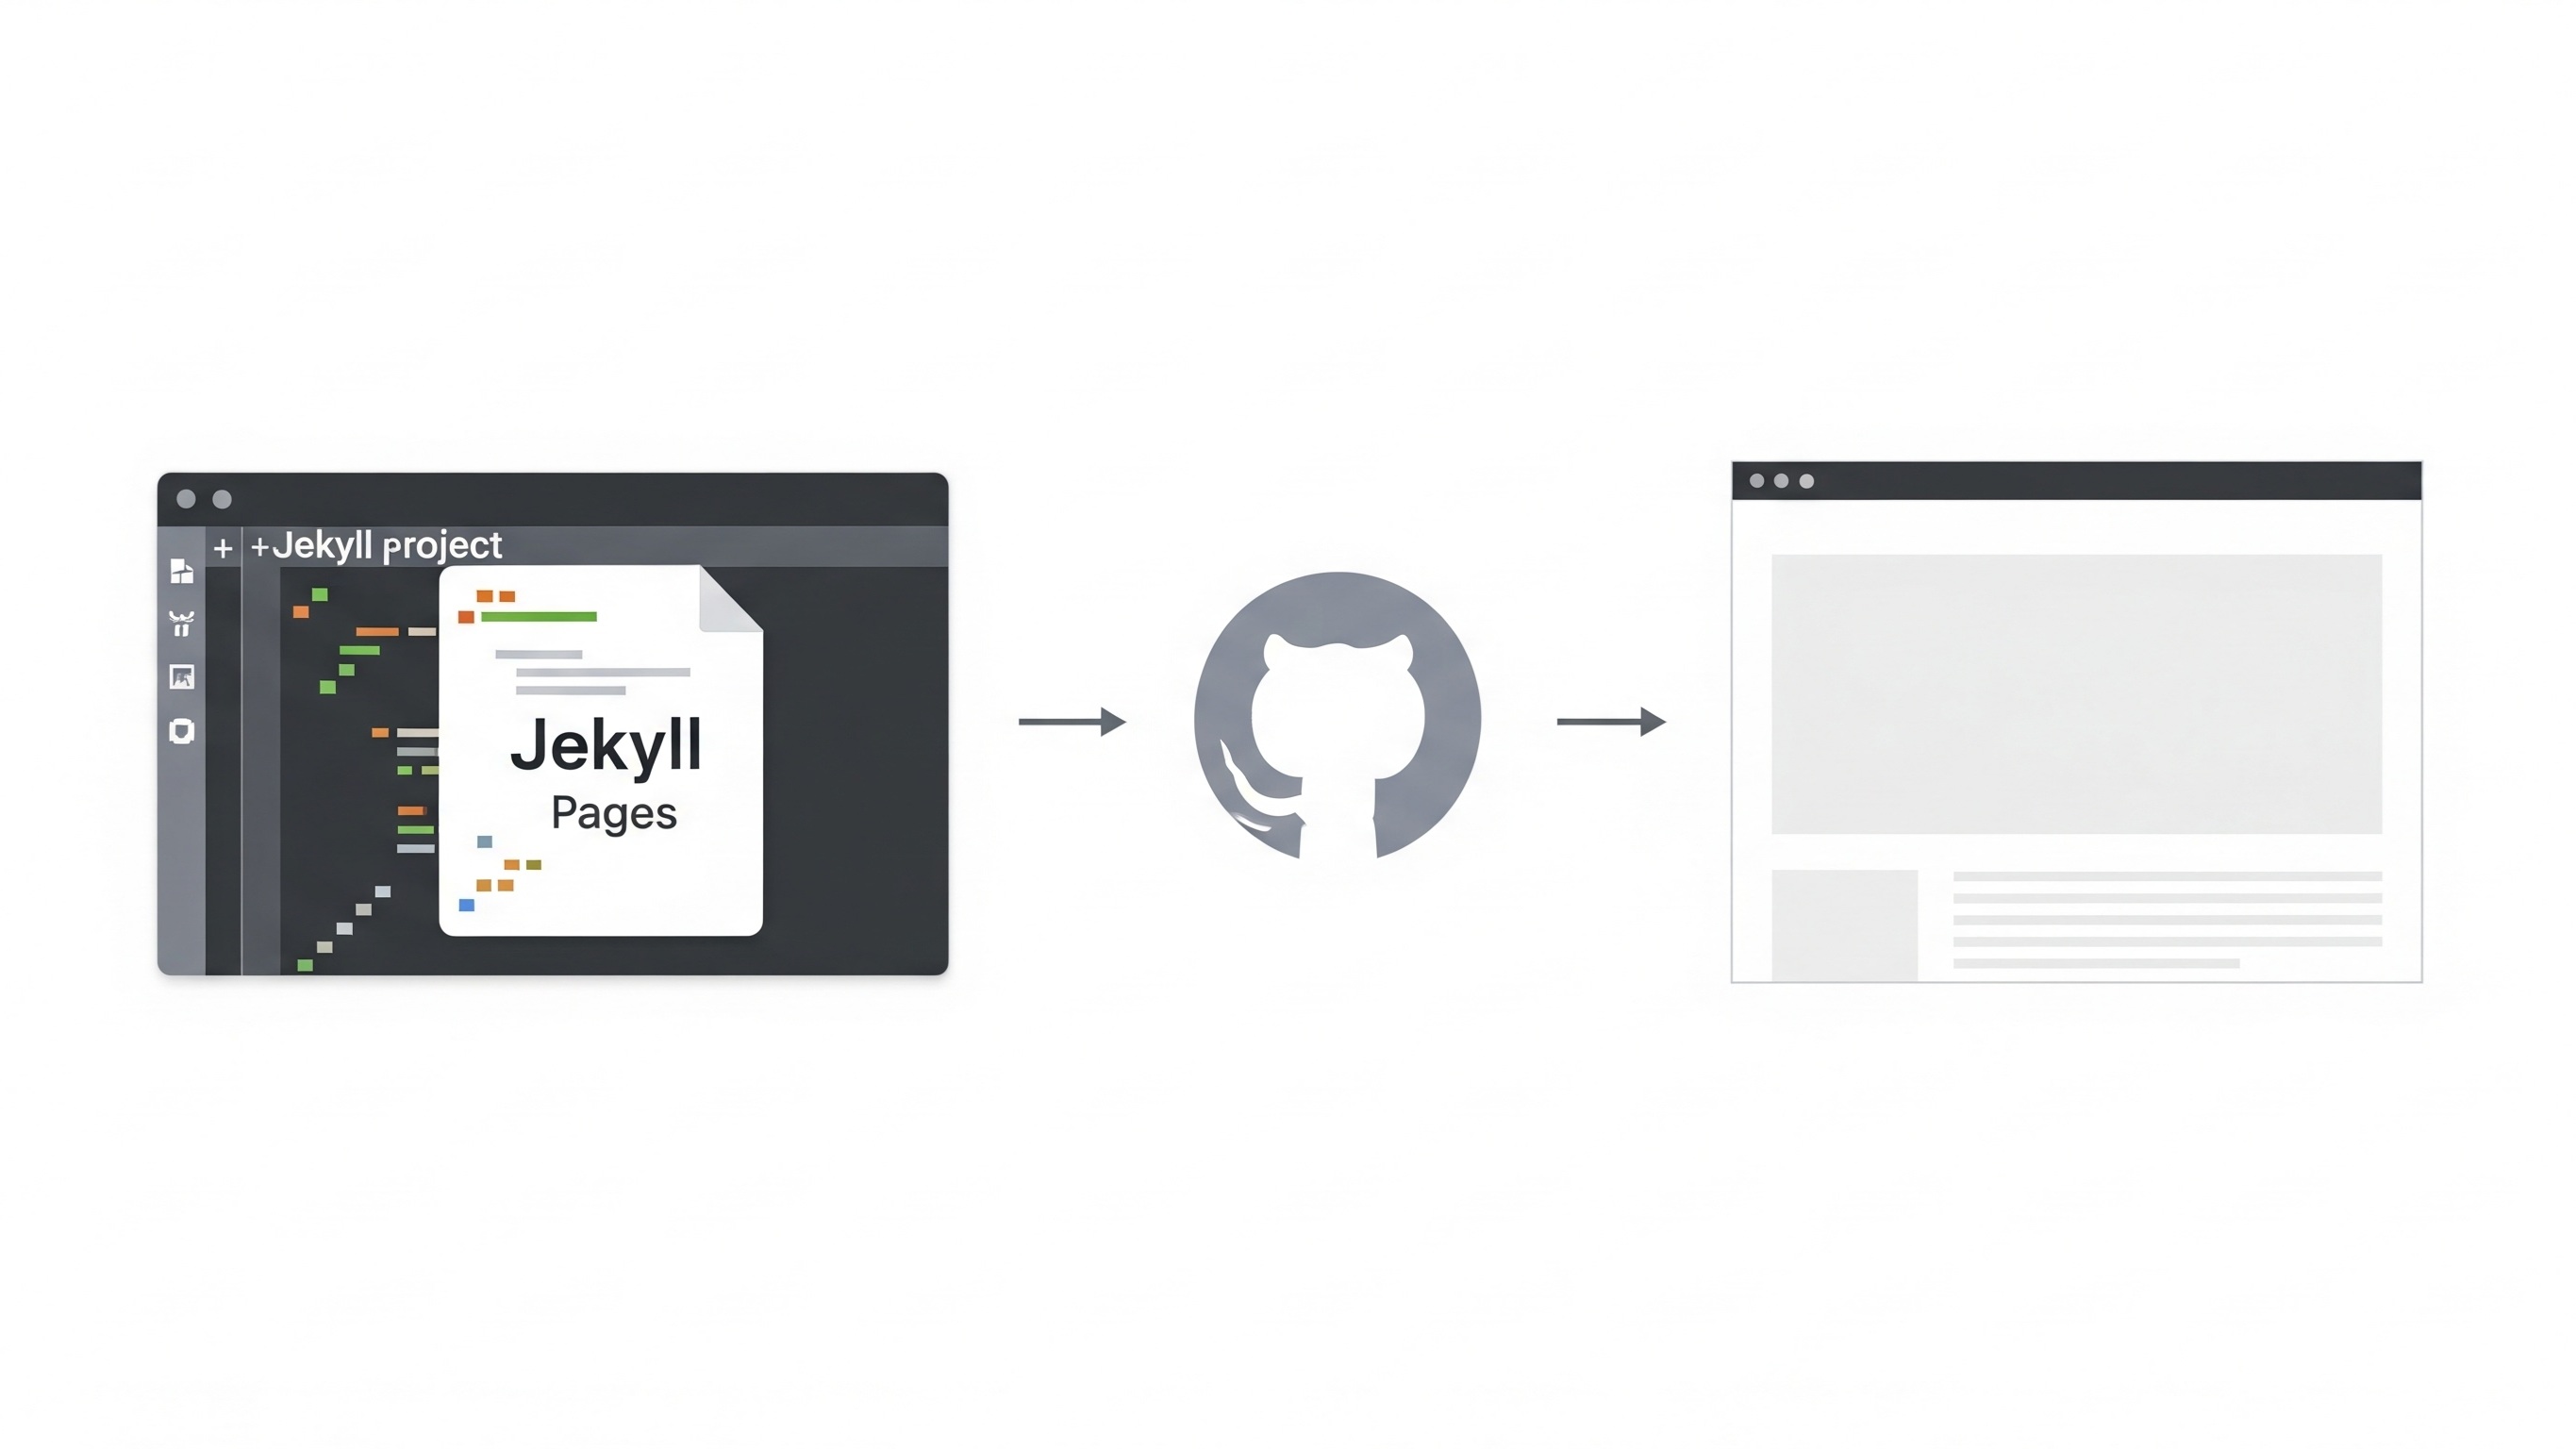
Jekyll is a static site generator that takes plain text files written in Markdown, Liquid templates, and other formats, and transforms them into a ready-to-deploy static website. It’s blog-aware, meaning it inherently understands concepts like posts, pages, categories, and tags, making it incredibly powerful for content-driven sites. When you push your Jekyll source files to a GitHub repository configured for GitHub Pages, GitHub automatically builds and deploys your site. This workflow is efficient, but before you push your changes to the world, it's crucial to ensure everything looks and functions as intended. This is where running and previewing your Jekyll site locally becomes indispensable.
Working locally provides a rapid feedback loop, allowing you to see changes instantly without the delay of pushing to GitHub and waiting for the build process. It empowers you to catch errors, refine your design, and perfect your content in a private, controlled environment. Without a local setup, developing a Jekyll site would be a slow and frustrating process of trial and error, potentially leading to a broken live site or a less-than-ideal user experience. This guide will walk you through the comprehensive steps to set up, run, and effectively preview your Jekyll site on your local machine, ensuring a smooth and confident deployment to GitHub Pages.
Initial Setup: Preparing Your Local Environment for Jekyll Development
Before you can run a Jekyll site locally, your computer needs the necessary tools. The core requirement is Ruby, as Jekyll is a Ruby gem. Along with Ruby, you'll need a package manager called Bundler to manage your project's Ruby dependencies.Installing Ruby
The method for installing Ruby varies depending on your operating system. For macOS users, Ruby often comes pre-installed, but it's generally recommended to use a version manager like rbenv or RVM to avoid conflicts with the system Ruby and to manage multiple Ruby versions. On Windows, the RubyInstaller is the simplest and most recommended approach. Linux users can typically install Ruby through their distribution's package manager (e.g., apt for Debian/Ubuntu, yum for CentOS/RHEL, pacman for Arch Linux).For macOS with rbenv:
brew install rbenv ruby-build
rbenv init
echo 'eval "$(rbenv init - zsh)"' >> ~/.zshrc # or .bashrc
source ~/.zshrc
rbenv install 3.2.2 # or a recommended stable version
rbenv global 3.2.2
For Windows using RubyInstaller:
Download and run the RubyInstaller from their official website. During the installation, make sure to check the box to "Add Ruby executables to your PATH" and also to "Install MSYS2 development toolchain." The MSYS2 toolchain is crucial for compiling some Ruby gems that Jekyll relies on.
For Ubuntu/Debian:
sudo apt update
sudo apt install ruby-full build-essential zlib1g-dev
Installing Bundler
Once Ruby is in place, you can install Bundler. Bundler ensures that all the necessary Ruby gems (libraries) for your Jekyll project are installed and managed correctly. This prevents version conflicts and ensures your local environment matches the one GitHub Pages uses to build your site.
gem install bundler
Cloning Your Jekyll Site Repository
If your Jekyll site already exists on GitHub, you'll need to clone it to your local machine. If you're starting a new Jekyll project, you can initialize a new one.To clone an existing repository:
git clone https://github.com/your-username/your-jekyll-site.git
cd your-jekyll-site
Installing Project Dependencies
With Bundler installed and your repository cloned, the next step is to install all the Jekyll-specific gems required by your project. These dependencies are typically listed in a Gemfile located in the root of your Jekyll project.
bundle install
Running Your Jekyll Site Locally
Once all the dependencies are installed, you're ready to fire up your Jekyll server and preview your site. Jekyll provides a built-in development server that makes this process straightforward.Starting the Jekyll Development Server
Navigate to the root directory of your Jekyll project in your terminal or command prompt. Then, execute the following command:
bundle exec jekyll serve
bundle exec: This prefix ensures that Jekyll is run using the specific versions of gems defined in your Gemfile and managed by Bundler. This prevents conflicts with other Ruby gems that might be installed on your system.jekyll serve: This is the Jekyll command that builds your site and starts a local web server.
Configuration file: /path/to/your-jekyll-site/_config.yml
Source: /path/to/your-jekyll-site
Destination: /path/to/your-jekyll-site/_site
Incremental build: disabled. Enable with --incremental
Generating...
done in 0.52 seconds.
Auto-regeneration: enabled for '/path/to/your-jekyll-site'
Server address: http://127.0.0.1:4000/
Server running... press ctrl-c to stop.
Accessing Your Local Site in a Web Browser
Open your preferred web browser and navigate to the address provided by Jekyll (e.g., http://127.0.0.1:4000/ or http://localhost:4000/). You should now see your Jekyll site rendered exactly as it would appear when deployed to GitHub Pages.Understanding Jekyll's Watch Mode and Live Reloading
One of the most powerful features of Jekyll's development server is its auto-regeneration or "watch mode." When jekyll serve is running, it continuously monitors your project directory for changes. Any time you save a modification to a file (e.g., editing a Markdown post, updating a CSS file, or changing a Liquid template), Jekyll automatically rebuilds your site. You'll see messages in your terminal indicating that Jekyll is regenerating the site. While this rebuilds the site, the browser itself doesn't automatically refresh. For a truly seamless development experience, you might consider using browser extensions or tools that offer live reloading. Some popular options include:- Browsersync: A powerful tool that can inject changes into the browser without a full page reload, and it can synchronize interactions across multiple devices. It's often used with task runners like Gulp or Grunt, but can also be used standalone.
- LiveReload: A classic option with browser extensions that monitor file changes and automatically refresh the page.
Common Issues and Troubleshooting
Even with careful setup, you might encounter issues when running Jekyll locally. Here are some common problems and their solutions:Missing Gems or Dependency Conflicts
If you see errors related to missing gems or version conflicts, the first step is to ensure you've run bundle install in your project's root directory. If the issue persists, try updating Bundler itself:
gem update bundler
bundle update
Ruby Version Incompatibility
Jekyll, like any software, has compatibility requirements with the Ruby version. Using an outdated or too new Ruby version can lead to errors. Always check the Jekyll documentation for the recommended Ruby version. If you're using a Ruby version manager (like rbenv or RVM), switch to the recommended version.With rbenv, for example:
rbenv install 3.2.2 # if not already installed
rbenv local 3.2.2
Permissions Errors
Occasionally, you might encounter permission errors when Jekyll tries to write files to the _site directory or during gem installation.- For _site directory issues: Ensure your user has write permissions to your Jekyll project directory.
- For gem installation errors (especially on Linux/macOS): Avoid using sudo gem install unless absolutely necessary, as it can lead to permission issues for future gem installations. It's better to use a Ruby version manager to isolate gem installations to your user directory. If you've already used sudo, you might need to fix gem permissions or reinstall Ruby using a version manager.
Port Already in Use
By default, Jekyll serves on port 4000. If another process on your machine is already using this port, Jekyll won't be able to start. You'll see an error message like "Address already in use." To resolve this, you can specify a different port when starting the Jekyll server:
bundle exec jekyll serve --port 4001
Dealing with _config.yml Errors
Your _config.yml file is crucial for Jekyll's configuration. Syntax errors (e.g., incorrect YAML formatting, missing colons, or improper indentation) can prevent Jekyll from building your site.When you run jekyll serve, Jekyll will usually provide helpful error messages if there's an issue with your _config.yml. Pay close attention to the line numbers and error descriptions. Use a YAML linter or validator if you're struggling to find the exact error.
Common mistakes include:
- Incorrect indentation: YAML is sensitive to whitespace.
- Missing a space after a colon (key:value instead of key: value).
- Using tabs instead of spaces.
Problems with Jekyll Themes or Plugins
If you're using a custom Jekyll theme or third-party plugins, ensure they are compatible with your Jekyll version and are correctly configured.For themes, check your _config.yml for the theme setting and ensure the theme is listed in your Gemfile. For plugins, make sure they are included in the plugins array in your _config.yml and are also in your Gemfile.
If a plugin isn't working, check its documentation for specific installation instructions or configuration requirements. Sometimes, plugins require additional system libraries that need to be installed manually.
Advanced Local Development Techniques and Considerations
While jekyll serve provides a robust local preview, there are several advanced techniques and considerations that can further enhance your Jekyll development workflow.Understanding Jekyll Environments
Jekyll allows you to define different environments (e.g., development, production) which can influence how your site is built. This is particularly useful for features you only want enabled in development (like drafts or specific plugins) or for conditional content. By default, jekyll serve runs in the development environment. You can access the current environment in your Liquid templates using {{ jekyll.environment }}.For example, to only show draft posts in development:
{% if jekyll.environment == "development" %}
Draft Posts
{% for post in site.posts %}
{% if post.draft %}
- {{ post.title }}
{% endif %}
{% endfor %}
{% endif %}
JEKYLL_ENV=production bundle exec jekyll build
Using Jekyll Drafts for Unfinished Content
Jekyll's draft feature is incredibly useful for content that's not yet ready for publication. Drafts are stored in a _drafts folder at the root of your project. By default, jekyll serve does not include drafts. To preview your drafts locally, you need to use the --drafts flag:
bundle exec jekyll serve --drafts
Optimizing Build Times
For large Jekyll sites, build times can become noticeable. Several strategies can help optimize this:- Incremental builds: Jekyll has an incremental build feature that attempts to only re-render files that have changed. While it's enabled by default with jekyll serve on newer Jekyll versions, if you're explicitly running jekyll build, you might need to add the --incremental flag.
- Excluding unnecessary files: Use the exclude option in your _config.yml to prevent Jekyll from processing files and directories that aren't part of your site (e.g., node_modules, .git, src folders if you're using a build tool).
- Minimizing plugins: While Jekyll plugins are powerful, each one adds to the build time. Only use necessary plugins.
- Asset pipeline optimization: For CSS and JavaScript, consider using separate build tools (like Gulp, Webpack, or Vite) to compile, minify, and concatenate your assets outside of Jekyll's build process. You can then just include the compiled assets in your Jekyll site.
Example of exclude in _config.yml:
exclude:
 * Gemfile
 * Gemfile.lock
 * node_modules
 * README.md
 * LICENSE
Integrating with Front-End Build Tools
For more complex Jekyll sites that involve modern JavaScript frameworks, advanced CSS preprocessors (Sass, Less), or image optimization, integrating with dedicated front-end build tools is highly recommended. Tools like Webpack, Gulp, or Vite can automate tasks like:- Compiling Sass/Less to CSS
- Transpiling modern JavaScript (ES6+) for broader browser compatibility
- Bundling and minifying CSS and JavaScript assets
- Optimizing images
- Setting up live reloading that works across both Jekyll and your front-end assets.
Version Control Best Practices with Jekyll
When developing a Jekyll site that's hosted on GitHub Pages, following good version control practices is essential:- Commit frequently: Save your work regularly with meaningful commit messages.
- Use branches: Create separate branches for new features, bug fixes, or major redesigns. This keeps your main or gh-pages branch stable.
- Pull before pushing: Always pull the latest changes from your remote repository before pushing your own to avoid merge conflicts.
- Ignore build output: Add _site/ and .jekyll-cache/ to your .gitignore file. These directories contain the generated site and Jekyll's cache, which should not be committed to your repository. GitHub Pages builds the site from your source files, not the pre-built output.
Example .gitignore for Jekyll:
_site/
.jekyll-cache/
.sass-cache/
.DS_Store
*.gemspec
.bundle/
vendor/bundle/
vendor/cache/
vendor/gems/
vendor/extensions/